The Ultimate 10-Step Kitchen Deep Cleaning Checklist for a Flawless Finish

Did you know that according to the National Sanitation Foundation (NSF), your kitchen is home to more germs than any other room in the house, with kitchen sinks often harboring more bacteria than a toilet seat? The kitchen is the heart of the home, but it’s also a battleground against grease, grime, and hidden bacteria. A true kitchen deep cleaning goes far beyond a simple wipe-down of the counters; it’s a systematic, top-to-bottom restoration that sanitizes your space and makes it sparkle.
This ultimate 10-step guide will walk you through the professional process for a flawless kitchen deep cleaning. You will learn the secrets to tackling the toughest grease, decluttering effectively, and achieving a level of clean you can truly feel. Whether you’re a DIY warrior or considering professional help, this checklist is your roadmap to success.
Ready to transform the heart of your home? If the task seems too daunting, the experts at Bruna’s Cleaning Service are ready to deliver that sparkling finish for you. Get your free estimate today!
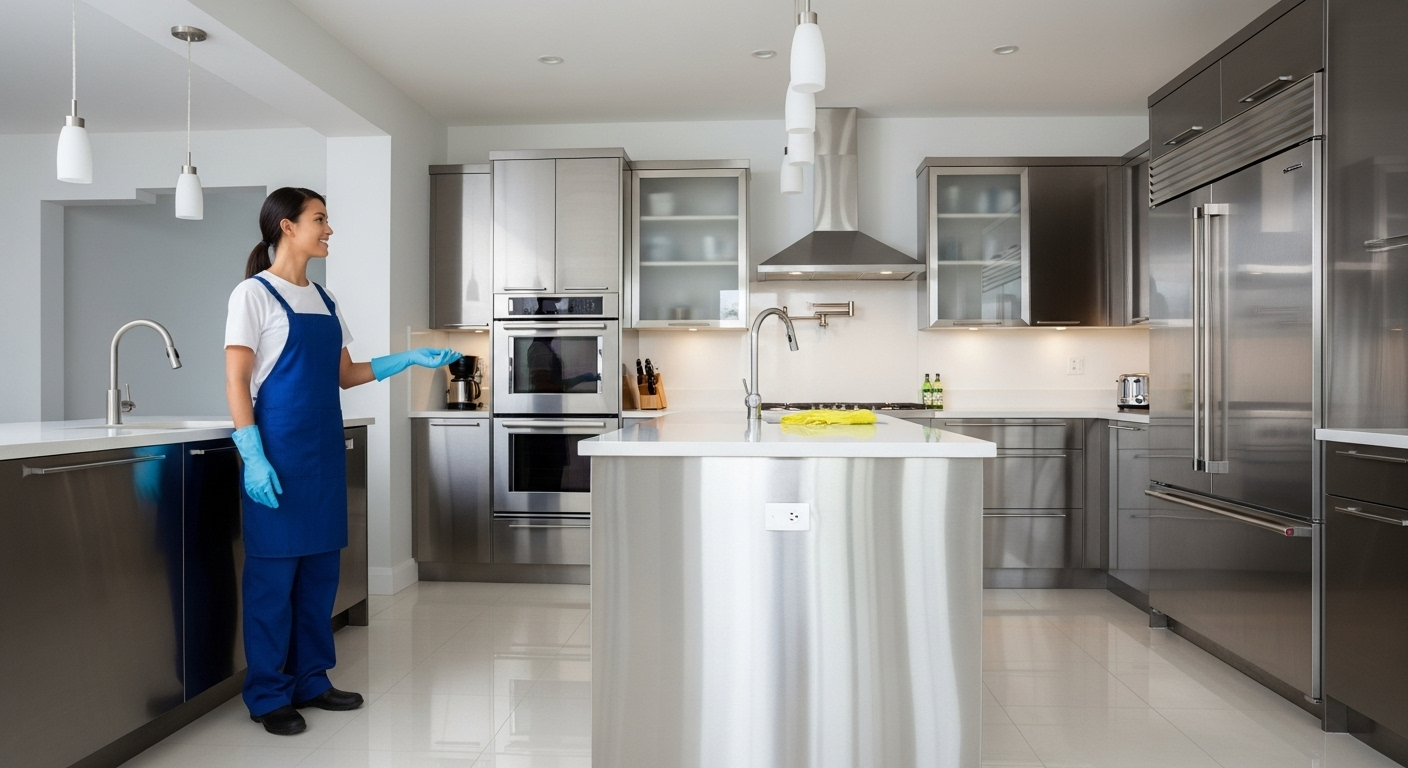
[Image: A beautifully clean and sparkling modern kitchen, with sunlight glinting off the polished countertops and stainless steel appliances. Alt text: A sparkling clean kitchen after a professional kitchen deep cleaning service.]
Why a True Kitchen Deep Cleaning Matters
Before diving into the checklist, it’s important to distinguish a regular tidy-up from a genuine kitchen deep cleaning. A regular cleaning session is about maintenance—wiping spills, washing daily dishes, and sweeping the floor.
A kitchen deep cleaning is a far more intensive project. It’s a seasonal or semi-annual necessity designed to eliminate months of accumulated grease, food residue, and dust from every nook and cranny. It’s the service that resets the hygiene and appearance of your kitchen, making subsequent cleanings easier and more effective.
Phase 1: Preparation is Everything
A successful kitchen deep cleaning begins long before the first spray bottle is opened. Proper preparation is the secret to an efficient and effective process.
Step 1: Gather Your Cleaning Arsenal
You can’t win a battle without the right weapons. Having everything on hand prevents you from stopping mid-task to find a tool.
- Cleaning Agents: All-purpose cleaner, a powerful degreaser, stainless steel polish, glass cleaner, oven cleaner, and a gentle abrasive cleaner like Bon Ami or a baking soda paste.
- Tools: High-quality microfiber cloths (use a color-coded system to prevent cross-contamination), scrub brushes of various sizes, a grout brush, a vacuum with HEPA filter and attachments, a step stool, heavy-duty trash bags, and protective gloves and eyewear.
- The Power of Degreaser: Kitchen grease is stubborn. A high-quality degreaser is non-negotiable for a true kitchen deep cleaning. It chemically breaks down the sticky film on cabinets, backsplashes, and range hoods that soap and water alone cannot conquer.
Step 2: The Great Declutter and Initial Sweep
You can’t clean what you can’t reach.
- Clear All Surfaces: Completely clear your countertops. Remove all small appliances, utensil holders, and décor. This is the only way to clean every square inch.
- Empty the Fridge: Yes, everything must come out. This is a perfect time to discard expired condiments and forgotten leftovers.
- Initial Floor Sweep: Do a quick sweep or vacuum of the floor to pick up loose crumbs and debris. This prevents you from tracking dirt around as you work.
This decluttering process is a core part of our Fresh Start Program, designed to give homeowners a completely reset space.
Phase 2: The Top-Down Kitchen Deep Cleaning Assault
The golden rule of any cleaning project is to work from top to bottom. This ensures that dust and debris fall downwards onto surfaces that have not yet been cleaned.
Step 3: Ceilings, Light Fixtures, and Vents
Dust and grease defy gravity, rising with steam and settling on overhead surfaces.
- Ceilings and Corners: Use the brush attachment on your vacuum or a long-handled duster to remove cobwebs and dust from the ceiling and corners.
- Light Fixtures: Turn off the power at the circuit breaker. Carefully remove any glass domes or shades. Wash them in warm, soapy water, dry completely, and polish before reattaching. Wipe down the fixture base to remove the sticky, dusty film.
- Exhaust Vents: The exhaust fan over your stove is a grease magnet. Remove the filter and, if it’s metal, soak it in a hot water and degreaser solution. Scrub, rinse, and let it dry completely before replacing. For detailed instructions, consulting a guide from a reputable source like Good Housekeeping can be invaluable.
Step 4: Cabinets and Pantry – Inside and Out
This is one of the most time-consuming but rewarding parts of a kitchen deep cleaning.
- Cabinet Exteriors: Mix a degreaser with warm water according to the product directions. Use a microfiber cloth to wipe down all cabinet faces, paying special attention to the areas around the handles where grease and fingerprints are heaviest. Work from top to bottom.
- The Tops of Cabinets: This hidden surface is often coated in a thick, sticky layer of dust. Carefully use a step stool and your degreasing solution to scrub this area clean.
- Cabinet and Pantry Interiors: Work one cabinet at a time. Remove all items. Vacuum out crumbs and debris from the corners. Wipe down the interior shelves and walls. Before returning items, wipe them down and check for expiration dates. This is your chance to reorganize for better function.
Step 5: The Appliance Gauntlet
This section is where a kitchen deep cleaning truly proves its worth, restoring your major appliances to like-new condition.
Conquering the Oven
- Interior: For self-cleaning ovens, follow the manufacturer’s instructions, ensuring proper ventilation. For manual cleaning, remove the racks and soak them in hot, soapy water. Apply a quality oven cleaner (or a paste of baking soda and water) to the interior, let it sit, and then scrub away the baked-on grime. This is a tough job that requires patience and elbow grease.
- Stovetop: Remove all grates and burner caps and soak them in a degreasing solution. Scrub the stovetop surface, paying attention to the areas around the burners. Use a crevice tool or toothpick to clean out any gunk in the seams.
- Range Hood: Clean the exterior of the range hood with your degreaser to remove the sticky film.
Refreshing the Refrigerator
- Interior: With the fridge empty and unplugged, remove all shelves and drawers. Wash them in your sink with warm, soapy water. Wipe down the entire interior of the fridge with a food-safe cleaner (a solution of vinegar and water works well). Dry everything thoroughly. According to the U.S. Food & Drug Administration (FDA), keeping appliances clean is a key step in preventing foodborne illness.
- Exterior: Wipe down the outside, including the top. For stainless steel, use a dedicated polish, wiping with the grain to avoid streaks.
- The Coils: Carefully pull the fridge away from the wall and unplug it. Use a vacuum’s brush attachment or a long, thin refrigerator coil brush to gently clean the dust from the condenser coils on the back or bottom. This improves efficiency and can prolong the life of your appliance.
Client Testimonial: “The kitchen deep cleaning I received from Bruna’s Cleaning Service was mind-blowing. My oven and refrigerator looked brand new. The technicians who came to my home in Dover, DE were so professional and meticulous. I didn’t realize how much grime was hidden away!” – Jennifer S.
Sanitizing the Dishwasher and Microwave
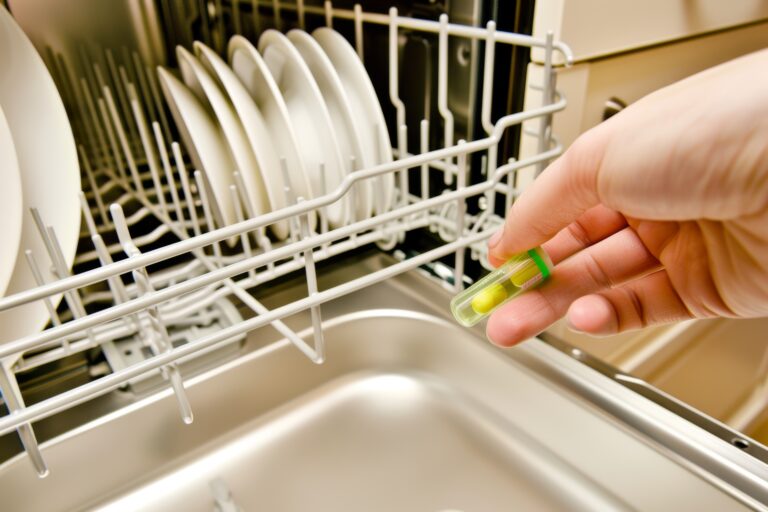
- Dishwasher: Clean the filter at the bottom of the dishwasher—you’ll be surprised what you find. Wipe down the rubber seal around the door. To complete the kitchen deep cleaning, run an empty cycle with a cup of white vinegar on the top rack, followed by another empty cycle with baking soda sprinkled on the bottom to deodorize and sanitize.
- Microwave: Place a bowl of water with lemon slices or vinegar inside and microwave for 3-5 minutes. The steam will loosen all the baked-on splatters. Let it sit for another 5 minutes before opening, then easily wipe the interior clean. Don’t forget to wash the turntable.
Step 6: Countertops and Backsplash
Now that the overhead work is done, it’s time to focus on your main workspace.
- Grout Lines: If you have a tile backsplash or countertop, the grout is likely stained. Use a grout cleaner and a small, stiff brush to scrub the grout lines back to their original color.
- Wipe and Disinfect: Clean the entire countertop and backsplash with an appropriate cleaner for the surface (granite, quartz, laminate all have different needs). Pay special attention to the seam where the backsplash meets the counter, as this is a prime spot for buildup.
Step 7: The Sink and Garbage Disposal
The sink is one of the dirtiest places in the kitchen. A thorough kitchen deep cleaning is essential here.
- Scrub the Basin: Use a gentle abrasive cleaner to scrub the sink basin, removing any stains or scuffs. Use an old toothbrush to scrub around the drain and faucet base.
- Polish the Fixtures: Use a dedicated polish or a cloth with vinegar to shine your faucet and handles, removing water spots.
- Deodorize the Disposal: To clean and sharpen the blades, run a handful of ice cubes through the disposal, followed by cold water. To deodorize, grind up some citrus peels (lemon, lime, or orange).
Phase 3: The Final Details and Sparkling Finish
This final phase is what separates an amateur clean from a professional one. It’s all about the details that make the entire room pop.
Step 8: Small Appliances and Décor
Before returning items to your clean counters, clean the items themselves.
- Wipe down your coffee maker, toaster, stand mixer, and any other small appliances. Empty the toaster’s crumb tray.
- Clean utensil holders, knife blocks, and any decorative items.
Step 9: Windows, Doors, and Switch Plates
- Clean the interior of any kitchen windows and the glass on any doors.
- Wipe down all light switches, outlet covers, and door handles with a disinfecting wipe. These high-touch areas are often forgotten during a standard kitchen deep cleaning.
Step 10: The Grand Finale – Floors and Baseboards
This is the very last step.
- Baseboards: Wipe down all the baseboards in the kitchen.
- Floors: Thoroughly vacuum the floor one last time, using a crevice tool to get along the edges of cabinets and appliances. Then, mop your way out of the room, starting from the farthest corner. Allow it to dry completely before walking on it.
The Professional Difference: Why Hire a Pro for Kitchen Deep Cleaning?
As you can see, a comprehensive kitchen deep cleaning is a significant, time-consuming, and physically demanding project. While this checklist empowers you to do it yourself, there are many reasons to hire a professional service like Bruna’s Cleaning Service.
- Expertise & Efficiency: We know the right products and techniques for every surface, ensuring a perfect result without causing damage. Our teams can complete this entire checklist in a fraction of the time it would take a homeowner.
- The Right Tools: We come equipped with professional-grade degreasers, HEPA-filter vacuums, and all the necessary tools to tackle the toughest jobs.
- Peace of Mind: You get a guaranteed, flawless result without sacrificing your entire weekend. This service is a cornerstone of our offerings for clients across Delaware, Pennsylvania, and New Jersey.
A professional kitchen deep cleaning is an investment in your home’s hygiene and your own well-being.
Conclusion: Enjoy Your Sparkling Kitchen Sanctuary
A true kitchen deep cleaning transforms the most-used room in your house from a place of chores into a sparkling, hygienic sanctuary you can be proud of. By following this systematic, top-to-bottom checklist, you can banish hidden grime, eliminate bacteria, and restore the beauty of your kitchen.
The process is intensive, but the reward—a beautiful, healthy, and functional kitchen—is well worth the effort. Whether you choose to embark on this DIY project or entrust it to seasoned professionals, committing to a regular, thorough kitchen deep cleaning is one of the best things you can do for your home.
Ready to skip the scrubbing and get straight to the sparkling results? Contact Bruna’s Cleaning Service today for your free, no-obligation kitchen deep cleaning quote! Call us at 302-500-9137 and let us restore the heart of your home.


