Best Practices for Cleaning Your Refrigerator and Freezer: Effective Tips and Techniques

A clean and well-maintained refrigerator and freezer are essential to ensuring the longevity of your appliance and preserving the quality of your stored foods. Refrigerators and freezers are frequently in use, collecting dirt, grime, and bacteria that can impact the appliance’s performance and jeopardize your family’s health. This article will explore the best practices for cleaning your refrigerator and freezer, providing you with essential tips to keep your unit in top shape.
Cleaning your refrigerator may seem like a daunting task, but with the right strategies and organization, it becomes a manageable process. The key to efficiently tackling this chore lies in breaking down the task into smaller steps, focusing on a particular area or element at a time. This article will guide you through the entire cleaning process, highlighting efficient techniques, suitable cleaning products, and valuable organizational skills.
It is important to note that regularly cleaning your refrigerator and freezer is not just a matter of aesthetics; it also contributes to your appliance’s efficiency, energy conservation, and preventing unpleasant odors. Stay tuned as we delve into best practices, ensuring that your refrigerator and freezer remain clean, hygienic, and operating with optimal performance.
Preparing for the Cleanout
When it comes to effectively cleaning your refrigerator and freezer, thorough preparation is key. This section covers the essential steps of getting ready for a successful cleanout, including gathering the necessary supplies, emptying the appliances, and performing an initial wipe down.
Gather Your Cleaning Supplies
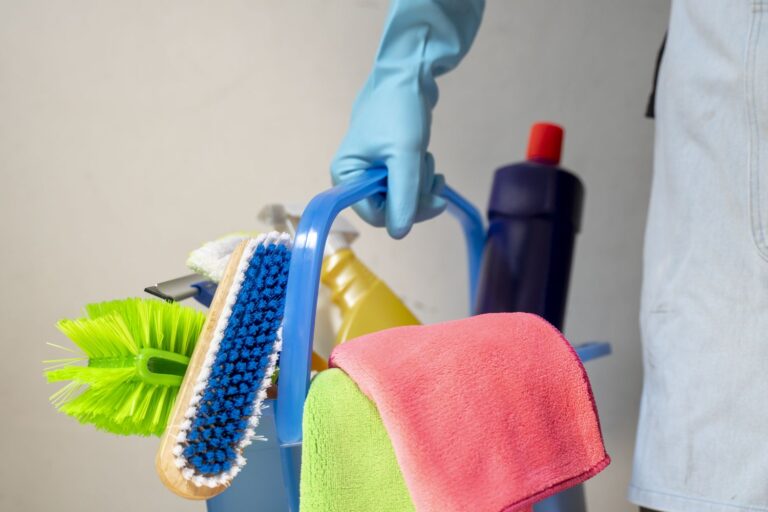
Before starting the process, make sure you have all the required cleaning supplies on hand. These include:
- Microfiber cloths or paper towels: For wiping and drying surfaces
- Sponges or magic erasers: For scrubbing off stubborn stains
- Dish soap or all-purpose cleaner: For mixing with water to create a cleaning solution
- Distilled vinegar: To help remove odors and disinfect surfaces
- Spray bottle: For evenly distributing cleaning solutions
- Bowl and hot water: For soaking sponges and cloths
- Cotton swabs and bottle brush: For cleaning tight corners and crevices
- Trash bags: For disposing of spoiled or expired food
- Baking soda: To neutralize unpleasant odors
Avoid using bleach, as it can leave a strong scent behind and potentially damage the material of your refrigerator and freezer.
Emptying the Refrigerator and Freezer
- Begin by turning off both the refrigerator and freezer sections to save energy.
- Remove all perishables, inspecting them for freshness and discarding any spoiled or expired items into trash bags.
- Place the remaining items in a cooler or insulated bag with ice packs to maintain their temperature while you clean.
- Remove any shelves, drawers, and other detachable parts to make it easier to clean the interior.
Initial Wipe Down and Rinse
First, fill a bowl or sink with hot water and add a few drops of dish soap. This creates a cleaning solution. Soak your microfiber cloth or sponge in the solution.
Wipe down the interior surfaces with the soapy water and cloth or sponge, taking care to remove any visible spills, stains, or dirt. Once the surface is clean, rinse the cloth or sponge with clean water, wring it out, and use it to wipe off any remaining residue. This ensures a clean surface for the disinfectant phase.
After completing these preparatory steps, your refrigerator and freezer are ready for a thorough cleaning, which begins with applying a disinfectant. This process will ensure that your appliances are clean, hygienic, and free of unpleasant odors.
Deep Cleaning and Organizing
Scrubbing Shelves and Compartments
To deep clean your refrigerator and freezer, start by removing all the contents. Once empty, take out shelves, bins, and compartments. Prepare a cleaning solution with hot soapy water, and use a sponge or non-abrasive cloth to scrub the shelves and compartments. For hard-to-reach areas and corners, utilize a toothbrush. Rinse thoroughly, and let them air dry before reassembling.
Deodorizing and Preventing Odors
To address fridge odors and freezer odor, mix 1 part baking soda with 2 parts hot water. Use a sponge to wipe all surfaces with this solution, and rinse with a damp cloth. For long-lasting odor prevention, place an open box of baking soda in your fridge or freezer. Alternatively, you can use activated charcoal, which is also effective in absorbing unpleasant smells.
Cleaning the Exterior and Coils
For a thorough refrigerator cleaning, don’t forget the exterior! Wipe down with a damp cloth to remove dust and dirt; for a clean refrigerator appearance, use a stainless steel cleaner if needed. Don’t forget to clean the top of the refrigerator, as dust tends to accumulate there.
To maintain efficiency, clean the coils located at the back or bottom of the refrigerator. Turn off the appliance, use a vacuum cleaner to remove dust, then wipe with a soft, dry cloth.
Organizing Contents Effectively
Re-organizing the contents of your refrigerator is an essential part of a deep clean. Prioritize the placement of items based on their expiry dates. Use plastic bins to group similar products or organize by meal type.
- Top Shelf: Place ready-to-eat items and leftovers within easy reach.
- Middle Shelves: Store dairy products, dressings, and other food items with low risk of contamination.
- Bottom Shelves: Keep raw meat, poultry, and seafood on the lowest shelf, preferably in a designated bin to prevent cross-contamination.
- Crisper Drawers: Keep fruits and vegetables separated to ensure proper humidity levels and prolong freshness.
By implementing these best practices for cleaning your refrigerator and freezer, you will maintain the cleanliness and efficiency of your appliance, as well as safeguard your family’s health.


